If you are comparing tools for 3d ai studio projects, this guide shows how to use trial credits carefully. Learn which inputs to test, what plan details to verify, and how to judge a downloaded model for your intended use.
The best trial is not the one that produces the prettiest preview. I use a controlled image, check what I can actually download, and judge the resulting mesh against the job I need it to do.

The short version
- Start with one centered subject on a plain background. A three-quarter view reveals more of its shape than a flat front view.
- Decide whether you need color before generating. For a single-color print, test geometry-only output.
- Check downloads, attribution, commercial-use limits, and credit expiry before spending a credit.
- Inspect the downloaded file, not just the preview. If the goal is printing, check scale, thin parts, and whether the mesh is closed.
Choose a trial by what you can keep
A large credit allowance is not useful if the plan will not let you download a model. I start with the free AI 3D generator comparison because it compares free tiers by downloads, license limits, and the cheapest paid step, rather than ranking them by credits alone.
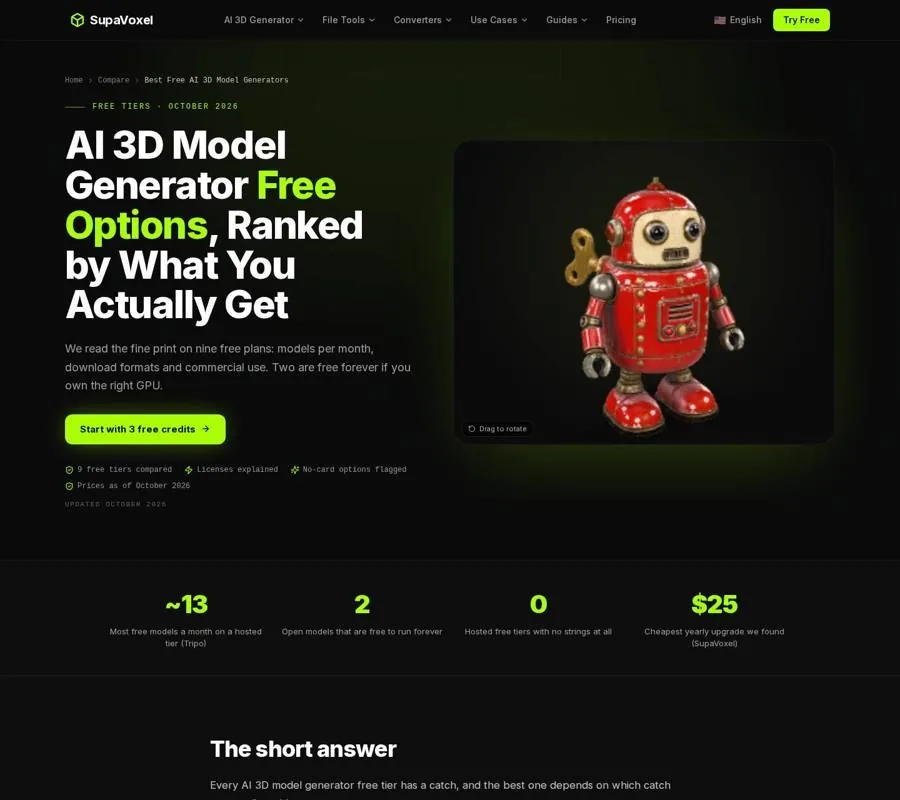
The comparison separates free allowances from the files and usage rights those allowances provide.
Write down the file you need before choosing a trial. A game prop may need its appearance preserved; a single-color print needs useful geometry. Then check the plan against that destination:
- Download — Can you take the model out, and in which format?
- Allowance — Do credits refill, or is this a one-time trial? Is there a separate export cap?
- Attribution — Must you credit the generator when using the result?
- Commercial use — Does the trial permit your intended project?
- Upgrade — What must you pay to get the export or rights you need?
These are separate checks. For example, the comparison lists no free 3D downloads for Hi3D, while Tripo has a free export limit. SupaVoxel gives 3 free credits at sign-up and lets you download a GLB; its commercial license comes with paid plans from $25 a year. I would not spend a credit until I knew which of those conditions mattered to my project.
Also check that an older recommendation still describes a working tool. If you are replacing a Cube workflow, the CSM AI status comparison explains why its former service was not accessible when rechecked on November 5, 2026. A saved comparison is no substitute for confirming that you can generate and export today.
Prepare an image that tests shape, not guesswork
Use a single object or character with its outline visible. Center it, give it a plain background, and choose a three-quarter view if you have one. That view shows the front and a side at once, giving you a better basis for judging depth. A busy scene asks the generator to decide which object matters; a straight-on image hides much of the form you want it to infer.
Before uploading, decide what a satisfactory result would look like. I would note the features that must survive: perhaps the handle on a prop, the gap beneath an arm, or the silhouette of a figurine. These are better test criteria than “looks good.” A convincing front view can hide a missing back or a fused opening.
Avoid using a screenshot, logo, or text-heavy image as the main subject when your goal is a physical shape. Those inputs test how the generator interprets flat graphics, not how well it reconstructs the object you need. Keep the source image available so you can compare the output against it rather than relying on memory.
Do not change the image between tools if your aim is to compare generators. Otherwise, you cannot tell whether a better result came from the tool or from a clearer input. If the first image is plainly unsuitable, fix the image before spending more credits on similar attempts.
Generate only the detail your destination uses
For a single-color print, choose geometry-only output when the plan offers it. A texture can make a preview look finished, but painted marks are images applied to the mesh. They do not become raised detail merely because you export the model for printing. Spend your trial on the shape you intend to slice.
On SupaVoxel, an untextured generation costs 1 credit; textured generation costs 3 credits on paid plans. That distinction makes geometry-only a practical first test with its 3 free credits at sign-up. The untextured model is usually ready in under a minute, but speed should not be your pass criterion. The downloaded geometry is what you will have to edit, place in a game scene, or print.
Make the first run a baseline, not a search for a lucky variation. Record which image you used, whether you requested texture, and the intended destination. If the result fails, identify the failure before generating again. A poor silhouette may call for a clearer source image. A good shape with paper-thin details calls for a change in the design or print plan. Repeating the same weak input gives you little new information.
Inspect the file beyond the front preview
Rotate the result and look at its sides, back, underside, and narrow connections. For a game asset, ask whether the visible form works from the camera angles your project needs. For a print, ask whether the apparent object is actually made of surfaces that can enclose a volume.
A mesh can look solid on screen while containing open edges or single-sided planes. A slicer needs a printable volume; it cannot treat a paper-thin decorative plane as a sturdy wall. Likewise, separate pieces that appear to touch in a preview may remain disconnected in the exported geometry. Zoom in on features that must carry weight or stay attached.
Download the result as soon as you decide it is worth keeping, then open that file in the software you expect to use. This catches a common testing mistake: judging a polished browser preview without verifying the export. Check that the file contains the subject you saw, that its orientation makes sense, and that you can work with the mesh. If you cannot use the download, the preview has not passed the trial.
For print work, repair is a finishing step, not a way to invent missing structure. Closing a hole can make a mesh sliceable; it cannot turn a flat image detail into a modeled feature or strengthen a part that is too thin for the chosen print size.
Test the route from GLB to a print
If your trial gives you GLB but your print workflow expects STL, test that handoff before paying for another export option. SupaVoxel’s GLB to STL converter is a free browser tool that adjusts the file’s units and orientation for printing.
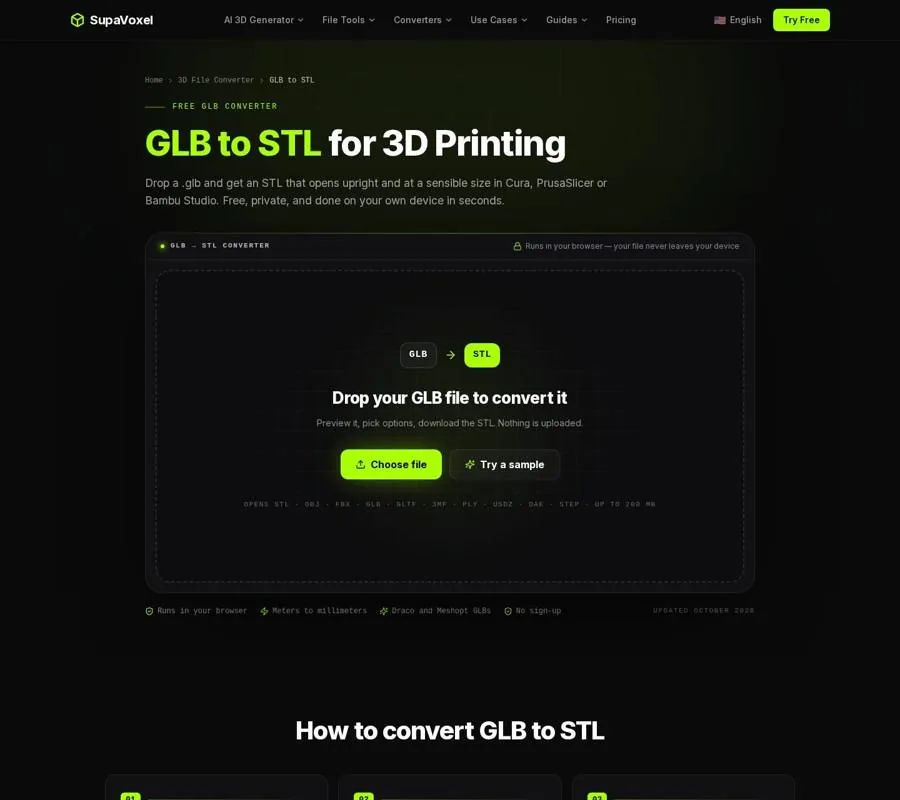
The converter shows the output size before you download the STL.
This conversion deserves a size check. The glTF specification uses meters, while STL stores no units and slicers commonly read its numbers as millimeters. Copying the same numerical coordinates without conversion can make an object arrive tiny. GLB also uses a Y-up convention, while print workflows use Z-up. The converter handles those differences and shows the output dimensions so you can catch an implausible size before slicing.
STL keeps the mesh, not the GLB’s colors, textures, or animation. That is fine for a single-color shape test, but it means a textured preview cannot prove that small painted features will appear in plastic. Open the converted STL in your slicer, inspect the layer preview, and look for missing thin sections or unexpected separate pieces. A successful conversion proves that you have an STL; the slice tells you much more about whether it is printable.
Decide if the next credit is worth buying
After the test, describe the gap between the exported model and your target. Is it close enough for a concept, a background prop, or a decorative print? Does it need mesh editing, a different source image, or exact dimensions that an image cannot supply? Make that decision before buying a larger allowance.
The 3D model pricing guide helps compare AI generation with stock models and freelance work when the trial reveals that the file will need more work.
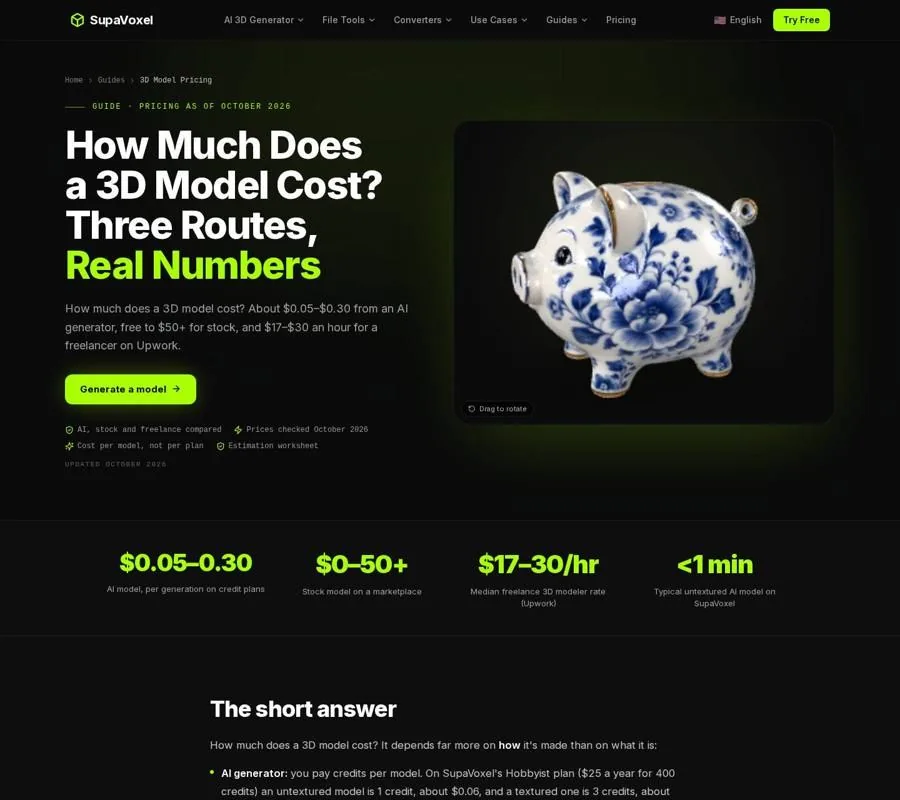
The pricing guide compares routes to a finished model, not just generator plan prices.
As of October 2026, the guide puts AI generations at about $0.05–$0.30 each on credit plans, stock models from free to $50+, and the median freelance modeling rate at $17–$30 an hour. Those prices answer different questions. AI is a sensible next step when an approximate shape from an image already meets your needs. If you must match measured dimensions or need animation-ready topology, cheaper generations may simply create more cleanup.
I would buy credits only after passing the export test and naming the remaining work. That turns a trial from an open-ended series of retries into evidence for the next decision.
FAQ
Should I use all my trial credits on variations of the same image?
Not before inspecting the first downloaded result. Find out whether the weakness is the source image, the generated shape, or the export. Change the part you can identify, then test again.
Does a textured result make a better test for 3D printing?
Not for a single-color print. Textures can improve the on-screen appearance without changing the printable geometry. Test the mesh, then inspect its layers in a slicer.
Is an STL download enough to prove a model will print?
No. STL describes triangles, not a guarantee of a closed, sturdy object. Check the size, disconnected parts, thin features, and sliced layers before sending it to the printer.